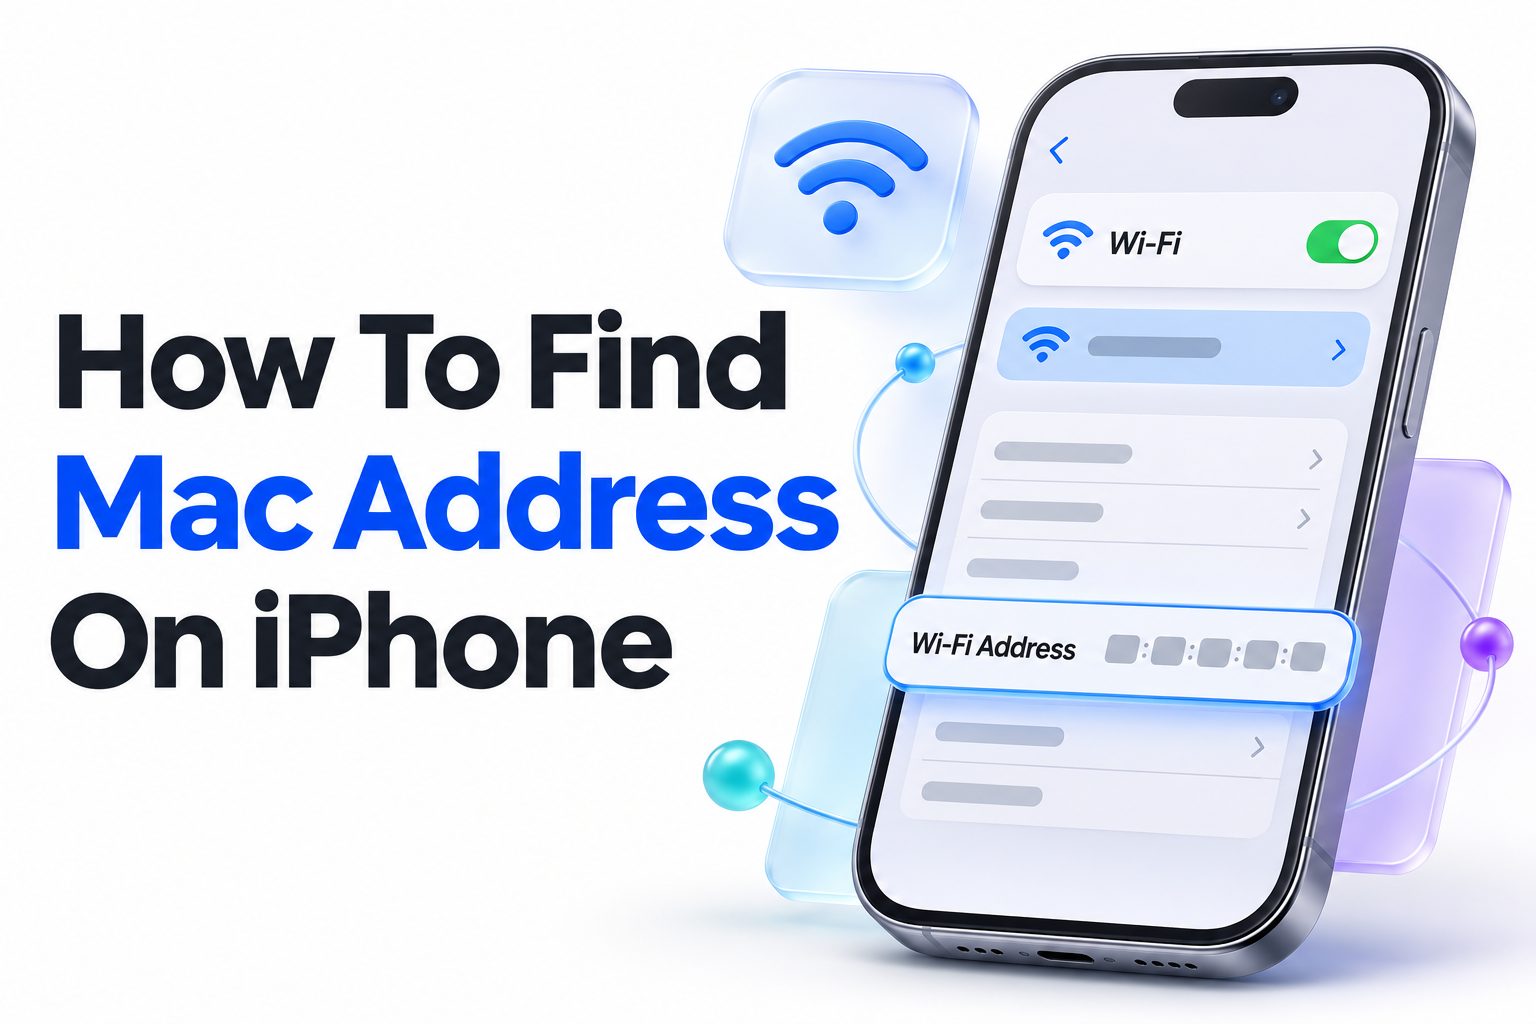
Your iPhone has a MAC address, but it may not be the same one every network sees. Apple uses privacy features that can assign a different Wi-Fi address to each network, which is helpful for limiting tracking but can be confusing when you need to register your phone on a secure network. If you are trying to connect to school, work, hotel, or home Wi-Fi, knowing how to find mac address on iphone can save time and avoid a support call.
The quickest answer is to open Settings, tap General, choose About, and look for Wi-Fi Address. That entry shows the device’s hardware Wi-Fi MAC address. For a specific network, you may also need to check the private Wi-Fi address shown in that network’s settings. This article explains both addresses, where to find them, when each one matters, and what to do if a network still will not accept your iPhone.
Finding the Wi-Fi MAC Address in iPhone Settings
The standard Wi-Fi MAC address is listed in the About screen. It is usually the address a network administrator asks for when they need to identify your iPhone, add it to an allowlist, or investigate a connection issue.
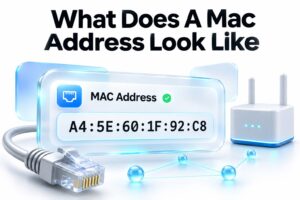
A MAC address is a 12-character identifier made of letters and numbers, typically displayed in pairs separated by colons. For example, it may look like `A1:B2:C3:D4:E5:F6`. It is not the same as your IP address, which can change when you join another network.
Follow these steps to find the hardware Wi-Fi address:
1. Open the Settings app on your iPhone.
2. Tap General.
3. Tap About.
4. Scroll down until you see Wi-Fi Address.
5. Copy or write down the address exactly as shown.
You can press and hold the address to copy it on many iOS versions. When sending it to an IT administrator, preserve the colons unless they specifically ask for a version without punctuation.
Why the Wi-Fi Address May Not Match Your Network
Seeing the Wi-Fi Address in the About screen does not always solve a registration issue. Modern iPhones use a feature called Private Wi-Fi Address, which creates a unique address for individual Wi-Fi networks instead of exposing the phone’s hardware address everywhere.
This feature is enabled by default on most current iPhones and iOS versions. It improves privacy because stores, airports, and other public locations cannot easily use one permanent identifier to follow your device across different networks.
Key details to keep in mind:
- The address in Settings > General > About is the iPhone’s regular hardware Wi-Fi address.
- A saved Wi-Fi network can see a private address instead.
- Each network may receive a different private address.
- Turning Private Wi-Fi Address off can be necessary for MAC-based network registration.
- Disabling it reduces privacy on that particular network, so use it only on networks you trust.
Checking the Private Wi-Fi Address for a Network
When a network uses MAC filtering or requires registration, the private address is often the one you need to provide. This is common in offices, campuses, apartment buildings, and managed guest networks that identify devices by their Wi-Fi address.
To see the private address associated with the network you are currently using, open that network’s details page. You do not need to disconnect first, although you should make sure you are checking the correct Wi-Fi name.
Use these steps:
1. Open Settings.
2. Tap Wi-Fi.
3. Find the connected network, marked with a checkmark.
4. Tap the information button beside the network name.
5. Look for Private Wi-Fi Address.
6. Copy the address displayed below that setting.
On newer iOS versions, the setting may be described as a rotating or fixed private address rather than a simple on-and-off option. The essential point remains the same: the address shown on that network page is the identifier that network is likely seeing.
Choosing Between a Private and Hardware Address
The best address to use depends on the network’s rules. A home router normally works fine with a private address because the iPhone keeps a consistent private address for that saved network. Public Wi-Fi also benefits from privacy protection.
A business or school network may have stricter requirements. If the administrator has asked for the MAC address displayed in the About screen, provide it first. If registration fails, ask whether the network detects a private Wi-Fi address instead.
| Situation | Address to check first | Practical advice |
|—|—|—|
| Home Wi-Fi | Private Wi-Fi Address | Leave privacy enabled unless your router requires otherwise. |
| Public hotspot | Private Wi-Fi Address | Keep privacy enabled for better protection. |
| Work or school Wi-Fi | Private Wi-Fi Address | Provide this address if the network identifies currently connected devices. |
| MAC allowlist setup | Ask the administrator | Confirm whether they need the private or hardware address. |
| Troubleshooting a blocked connection | Both addresses | Compare the registered address with the one shown for that network. |
Turning Off Private Wi-Fi Address When Required
Some older networks cannot handle private addressing correctly, particularly when they use device registration portals or MAC filtering. In that case, you can turn off Private Wi-Fi Address for that one network rather than changing a system-wide setting.
This change applies only to the selected Wi-Fi network. Your iPhone can continue using private addresses on other saved networks, including public hotspots and neighboring wireless services.
To disable it for a specific network:
1. Go to Settings > Wi-Fi.
2. Tap the information button beside the relevant network.
3. Turn off Private Wi-Fi Address.
4. Confirm the change if your iPhone asks.
5. Rejoin the network or reconnect if needed.
6. Give the hardware Wi-Fi Address from Settings > General > About to the network administrator.
After you make this change, the network may treat your iPhone as a new device. You might need to sign in again, accept terms on a captive portal, or ask the administrator to remove the old entry before adding the new one.
Useful situations for disabling private addressing include:
- A workplace network has explicitly allowlisted your hardware MAC address.
- A router assigns parental controls or reservations to one fixed device address.
- A hotel registration page repeatedly rejects your iPhone after approval.
- A campus network requires the physical device address during setup.
- Network support confirms that private addressing is causing the issue.
Finding Other Device Identifiers on an iPhone
A Wi-Fi MAC address is only one of several identifiers shown on your iPhone. It helps to use the correct one, especially when a support representative asks for details during setup.
The Bluetooth address is separate from the Wi-Fi address. It identifies your iPhone in Bluetooth-related contexts, such as certain accessories or enterprise device-management tools. It is not normally useful for connecting to Wi-Fi.
You can find both values in Settings > General > About. Look for Wi-Fi Address for wireless network registration and Bluetooth for Bluetooth-specific troubleshooting. Do not assume they will match; they are distinct identifiers.
Your iPhone also displays serial numbers, IMEI numbers, and EID details in the About screen. These identifiers serve different purposes. An IMEI is connected to cellular hardware, while an EID relates to eSIM provisioning. Neither should be entered into a router’s MAC address field.
For related device setup help, see [Internal Link: iPhone Wi-Fi troubleshooting tips]. Keeping a clear record of which identifier a network requires can prevent accidental sharing of unrelated device information.
MAC Address Formatting and Common Entry Errors
Network forms do not always accept MAC addresses in the same format. Most accept the colon-separated format displayed on your iPhone, but some systems require hyphens, periods, or no separators at all.
Before deciding the address is wrong, inspect the field’s example or validation message. For instance, a form requesting `A1B2C3D4E5F6` will reject `A1:B2:C3:D4:E5:F6` even though both versions represent the same address.
Common mistakes to avoid:
- Entering the Bluetooth address instead of the Wi-Fi address.
- Giving the hardware address when the network sees a private one.
- Mixing up the letter O with the number 0.
- Typing a lowercase letter incorrectly in a restricted form.
- Leaving out a character or adding an extra colon.
- Registering an old private address after resetting network settings.
- Forgetting to reconnect after changing the Private Wi-Fi Address setting.
If you are copying the value into a support ticket or registration form, paste it first and then compare the first and last character pair with the value in Settings. It is a small check that catches many frustrating errors.
Troubleshooting a MAC Registration Problem
A correct MAC address does not guarantee immediate access. Many managed networks require a few minutes to synchronize, and some only apply changes after the device disconnects and reconnects. Ask the administrator when the update will take effect before repeatedly changing iPhone settings.
Start by checking the Wi-Fi network name. Private addresses are tied to individual networks, so the address for “Office Guest” may not be the same as the address for “Office Secure.” Registering an address under the wrong network name will not solve the problem.
Try this practical troubleshooting sequence:
1. Confirm whether the network wants a hardware or private Wi-Fi address.
2. Verify the address directly in Settings rather than using an old screenshot.
3. Check that you are connected to, or attempting to join, the intended network.
4. Have the administrator confirm the address was entered correctly.
5. Turn Wi-Fi off and back on, then reconnect.
6. Forget and rejoin the network only if you know the password or sign-in process.
7. Restart the iPhone if the connection remains stuck after approval.
Avoid resetting all network settings as a first response. It removes saved Wi-Fi networks, passwords, cellular settings, and VPN configurations. It can help in stubborn cases, but it may also create more setup work and change the private addresses your networks recognize.
When Network Settings Need to Be Reset
Resetting network settings is a last-resort troubleshooting option when Wi-Fi repeatedly fails, the address is correct, and ordinary reconnecting has not helped. It does not erase photos, apps, messages, or other personal content, but it does clear important connection information.
Before using it, save Wi-Fi passwords and note any work VPN settings. You may need to re-register your iPhone afterward because private Wi-Fi addresses can change when network settings are erased.
To reset network settings, go to Settings > General > Transfer or Reset iPhone > Reset > Reset Network Settings. Enter your passcode if asked, then allow the iPhone to restart. Once it turns back on, reconnect to Wi-Fi and check the new network-specific address before submitting it.
If a problem persists after the reset, the issue is more likely on the router or network account side. At that point, provide support with the network name, the exact error message, and both the private and hardware Wi-Fi addresses only through a trusted support channel.
Privacy and Security Considerations
A MAC address is not usually as sensitive as a password, but it is still a device identifier. Share it only with people or organizations that have a legitimate reason to manage the network you are joining.
Private Wi-Fi Address is worth leaving on for public and unfamiliar networks. It limits how easily operators can associate your device with activity across separate locations. It also means you do not have to expose the same permanent address to every café, airport, or hotel connection.
Treat these details differently:
| Information | Typical purpose | Share carefully |
|—|—|—|
| Wi-Fi MAC address | Router registration and access control | Yes, with trusted network administrators |
| Private Wi-Fi Address | Identifying your iPhone on one network | Yes, when that specific network needs it |
| Wi-Fi password | Joining a protected network | Never post or share broadly |
| IMEI | Cellular support and device identification | Share only with carriers or trusted support |
| Apple Account password | Account security | Never share it |
If you are adding your iPhone to a home router, review the router’s security settings too. MAC filtering can be a useful organizational tool, but it should not replace a strong Wi-Fi password and modern WPA security.
Managing MAC-Based Controls at Home
Some home routers use MAC filtering, device profiles, or reserved IP addresses. These tools can help parents identify devices, apply schedules, or keep a smart-home setup organized. The iPhone’s private address can affect how consistently the router recognizes it.
For most homes, leave Private Wi-Fi Address enabled and use the address shown in that network’s Wi-Fi details when setting up controls. The address remains stable for that saved network unless you reset or deliberately change the privacy settings.
If your router loses track of the iPhone after a privacy setting change, remove the outdated device entry and add the current address. This is often simpler than turning off privacy for every device in the household.
For more router-focused guidance, [Internal Link: secure your home Wi-Fi network] can help you pair device controls with stronger password and encryption settings. A clear device name in the router dashboard also makes it easier to distinguish your iPhone from tablets, laptops, and smart TVs.
Conclusion
Finding your iPhone’s Wi-Fi identifier is straightforward: open Settings, select General, tap About, and locate Wi-Fi Address. The more important detail is knowing that this hardware address may differ from the private address used on a particular wireless network.
For home and public Wi-Fi, keeping private addressing enabled is usually the sensible choice. For managed networks, confirm which address the administrator needs, then check the connected network’s details page when necessary. If access still fails, verify the formatting, reconnect after registration, and avoid resetting network settings until simpler options have been tried.
Once you know how to find mac address on iphone, you can register your device accurately, resolve many Wi-Fi access issues, and make informed privacy choices. Keep the hardware and network-specific addresses distinct, share them only with trusted network operators, and you will be prepared for most connection requests.
Frequently Asked Questions
Is the Wi-Fi address the MAC address on an iPhone?
Yes. The Wi-Fi Address shown in Settings > General > About is your iPhone’s hardware Wi-Fi MAC address. A connected network may instead see a separate private Wi-Fi address, depending on your privacy settings.
Why does my iPhone show a different MAC address on Wi-Fi?
Your iPhone may use Private Wi-Fi Address. This feature gives individual Wi-Fi networks a distinct identifier, helping limit tracking. Check the network’s information page to see the address that network currently recognizes.
Can I change my iPhone MAC address permanently?
No. You cannot permanently edit the hardware Wi-Fi MAC address on a standard iPhone. You can use or change the private address behavior for individual networks through the Wi-Fi network settings.
Where is the private Wi-Fi address located?
Open Settings, tap Wi-Fi, then tap the information button beside the relevant network. The Private Wi-Fi Address setting and associated address appear on that screen, along with other network-specific connection details.
Should private Wi-Fi address stay enabled?
Usually, yes. Keep it enabled for public, home, and unfamiliar networks to improve privacy. Turn it off only when a trusted network administrator requires the hardware address or confirms that private addressing prevents access.